

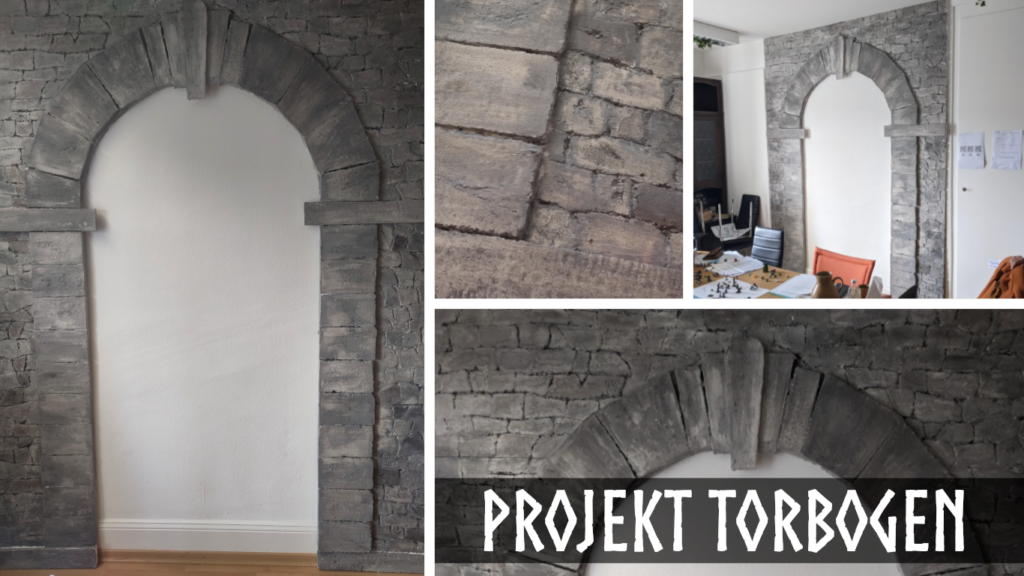
The catacomb part in “Catacombs & Lindworms” is (almost) finished! In the last few days a huge decorative element for the KuL room has been created from styrofoam, plaster, paint and a lot of patience, with the goal in mind to provide more fantasy ambience.
On Saturday, Tim, Mario and Patricia finally attached the archway to the wall. It is not quite finished yet, as there are still a few small corrections and finishing touches to be made, but we wanted to show you how it looks in the room!
The archway is meant as a frame for a kind of interactive art gallery:
Here, all your beautifully crafted characters, monsters, maps, etc. can be presented in style, instead of living a shadowy existence in a dark closet!
Patricia shows you in a short step-by-step how the fake stone archway has been created:
Materials for fake stone archway
- 11 insulation boards made of styrofoam (FPS 15, 100cm x 50cm x 2cm)
- felt-tip pen
- cutter / carpet knife
- 2kg plaster
- white glue
- toothpick
- acrylic paints (black, white, terracotta, green)
- brush
- water
- tarpaulin or newspapers
- adhesive tape
- string
- dried moss
Day 1: Basic structure
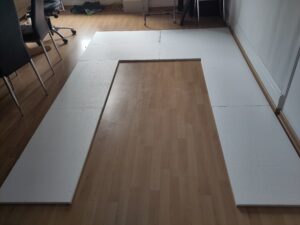
First, lay out the polystyrene sheets on the floor and cut them to the size of the wall.
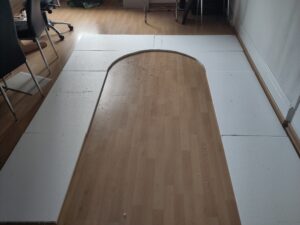
Draw the arc and cut it out with a cutter.
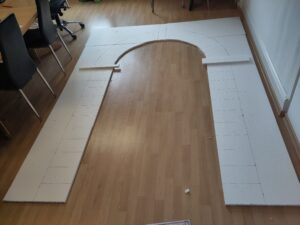
Now sketch out the basic shape of the arch and the decorative elements. (My design has changed several times during the project).
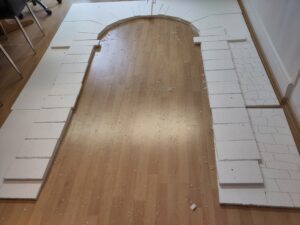
Cut out the individual decorative stones from the remaining styrofoam sheets and place them. The upper part of the arch was a real challenge, so I adjusted the design again and cut the stones straight instead of curved.
Small imperfections can be corrected later with the plaster.
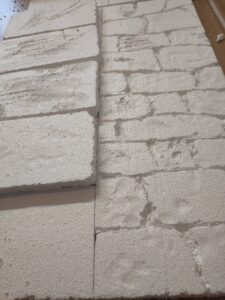
Now paint on the approximate shape of the stone wall with a felt-tip pen and roughly trace it with the cutter. The porous nature of the styrofoam automatically creates an irregular, natural pattern.
To give the styrofoam surface even more stone texture, I scratched and scored it with the cutter, worked on it with my fists and walked around on it – This creates a surprisingly realistic relief!
Day 2: Plaster
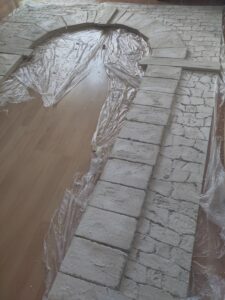
In a next step, I glued all the decorative stones with white glue and then painted the whole thing with plaster.
Now it looks like real stone!
In retrospect, I would approach the whole thing a little differently: I would plaster and paint the individual decorative stones first and then prime the surface with black paint before gluing them on.
Learn from my mistakes!
Day 3: Color
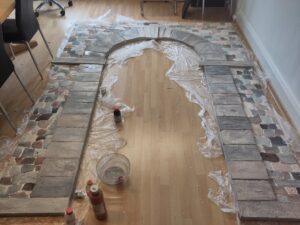
Now color comes into play!
With the colors white, black and terracotta in different mixing ratios, the individual stones are painted. This might look a bit nervous at first, but it will come together nicely with the next step – This process ensures natural color nuances in the end!
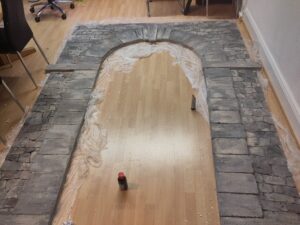
Now apply a dark wash to the sheet. This is a very fluid, transparent color that flows into all the cracks and gaps and gives the whole thing more depth. In addition, the variegated colors are evenly tinted and a uniform, harmonious color scheme with many natural nuances is created – just like a real stone wall!
Finally, all elevations and ridges are emphasized with a light brush, which brings even more detail and texture to the overall effect.
Day 4: Finish
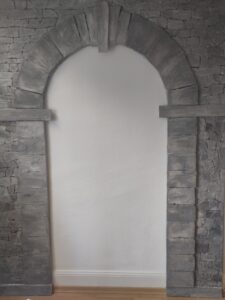
And here is the final result!
The arch was attached to the wall with tape and adhesive strips. Since the arch spans from the floor to the ceiling, it carries its own weight (Styrofoam is amazingly stable!).
The tape strips are just to keep the whole thing from tipping forward.
When mounting it to the wall, a few small things broke and had to be adjusted (Unfortunately, the arch was a little too high to begin with).
To finish the archway, the next step will be to add moss and some artificial staining to make the whole thing a bit more realistic…
I hope you like the fake stone archway! The construction was a lot of fun, even though it took much longer than expected….